Add and manage languages
Expanding your store to serve customers across the globe begins with configuring the right languages in your GLC setup. Whether you're reaching Spanish-speaking shoppers throughout Latin America or connecting with French-speaking audiences in Europe, offering multiple languages is key to delivering an authentic, localized shopping experience.
This step-by-step guide walks you through adding new languages to your store, translating and publishing them, and managing them effectively. With the right configuration in place, international customers will feel welcomed, understood, and fully at home as they browse your products.
I. Understanding Default Language and Target Language
- Your default language is the primary language of your Shopify store. It serves as the foundation for all content, including product descriptions, navigation menus, and checkout pages. It is set directly in your Shopify store settings, and visitors who do not select an alternative language will see your store in the default language automatically.
- A target language is any additional language you add to your store beyond the default language. Target languages enable customers to browse and shop in their preferred language via the language selector.
Translation in GLC works in one direction only: from your default language to your target languages. For this reason, your default language can't be added as a target language.
II. How to Add a Target Language
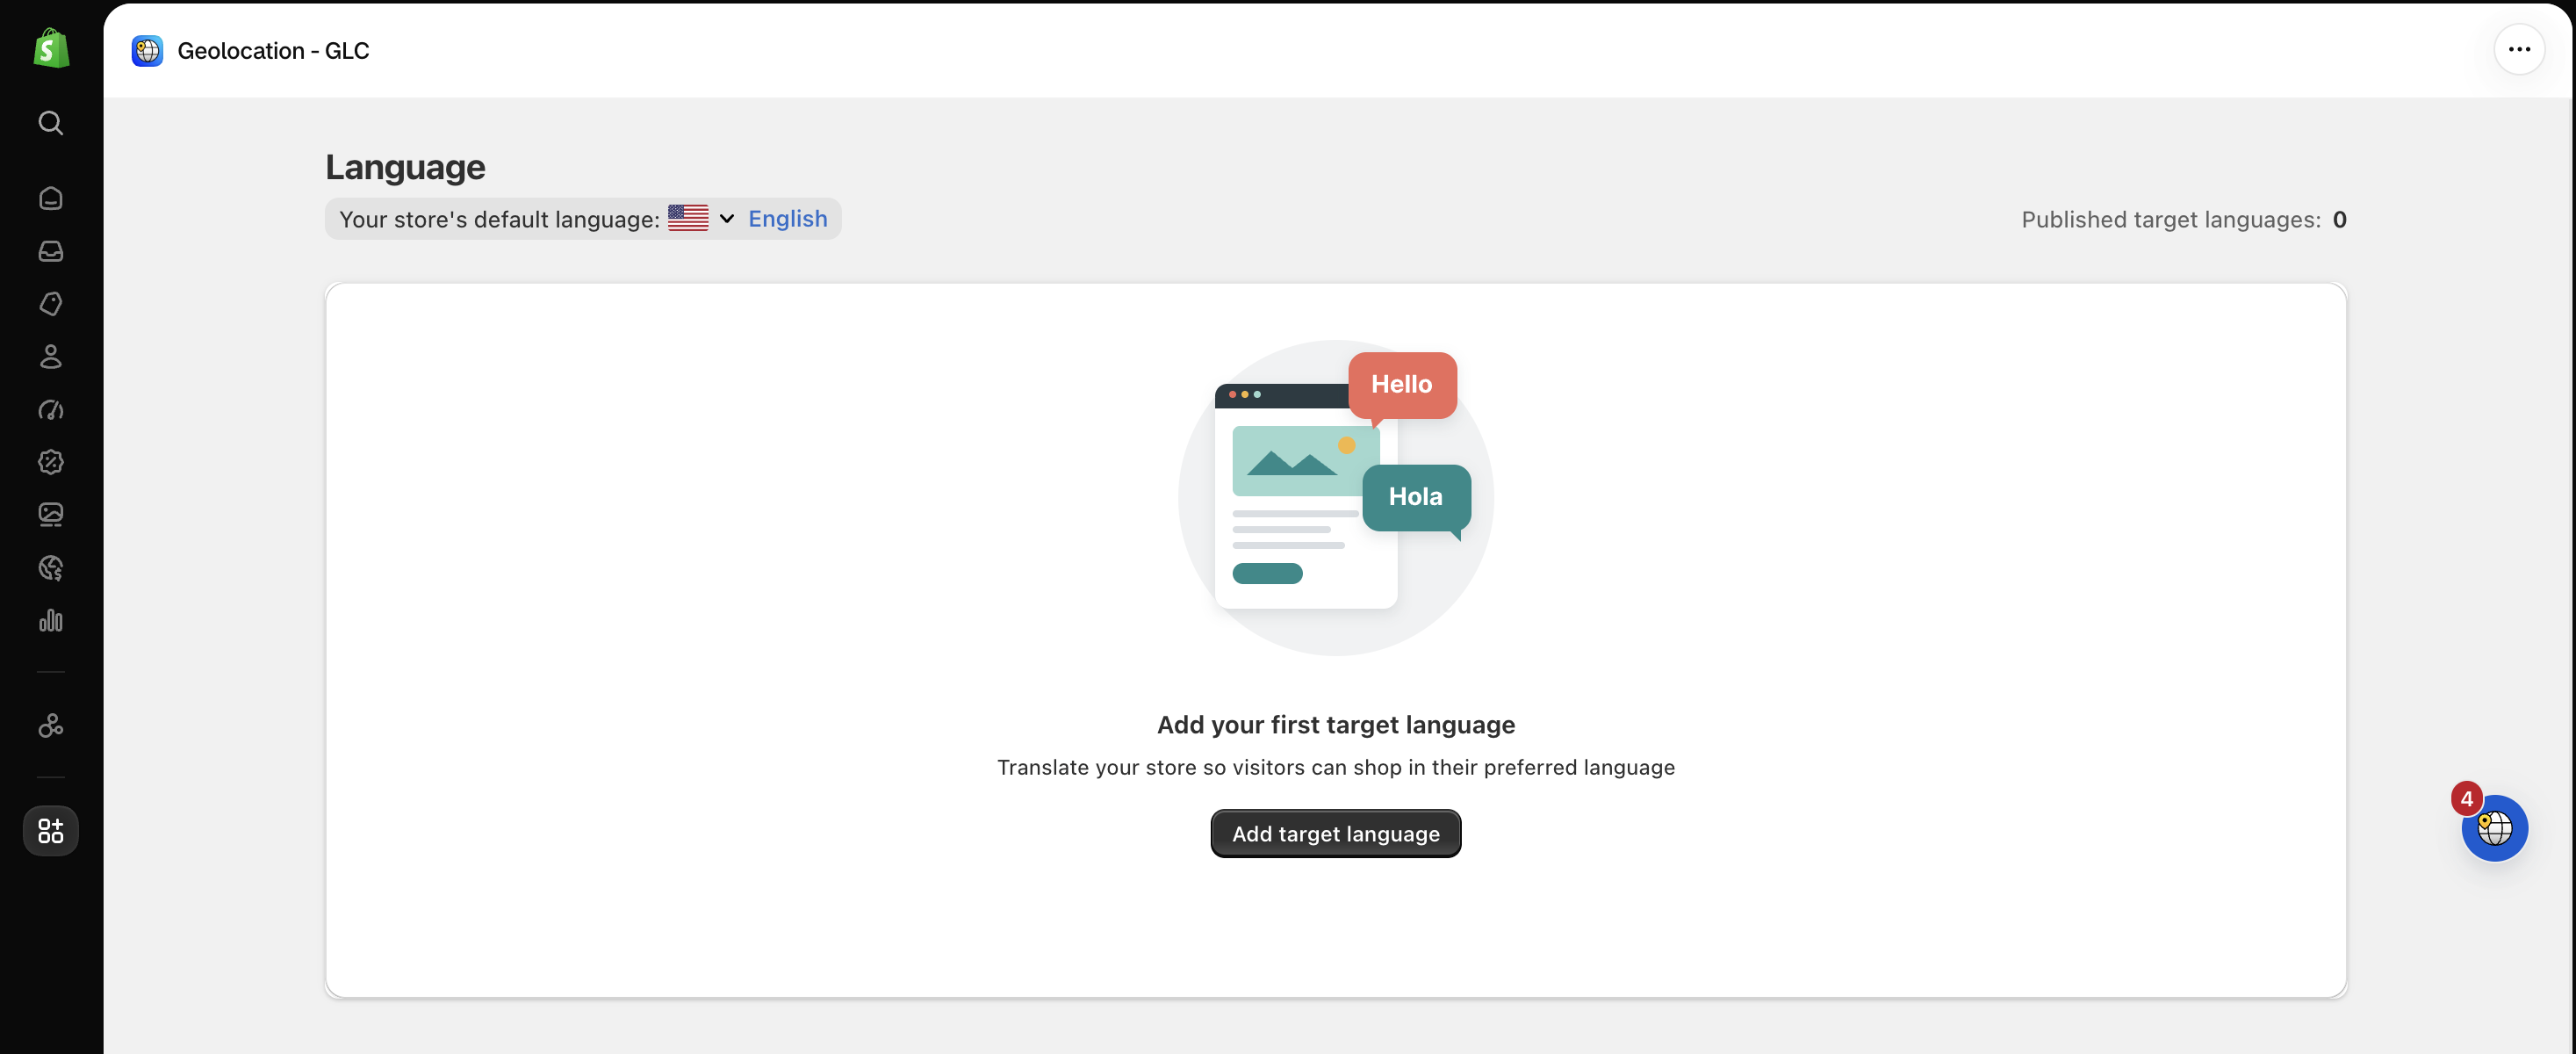
Step 1: Navigate to the Language settings
From your GLC dashboard, go to Language → Add target language.
Step 2: Choose your new languages
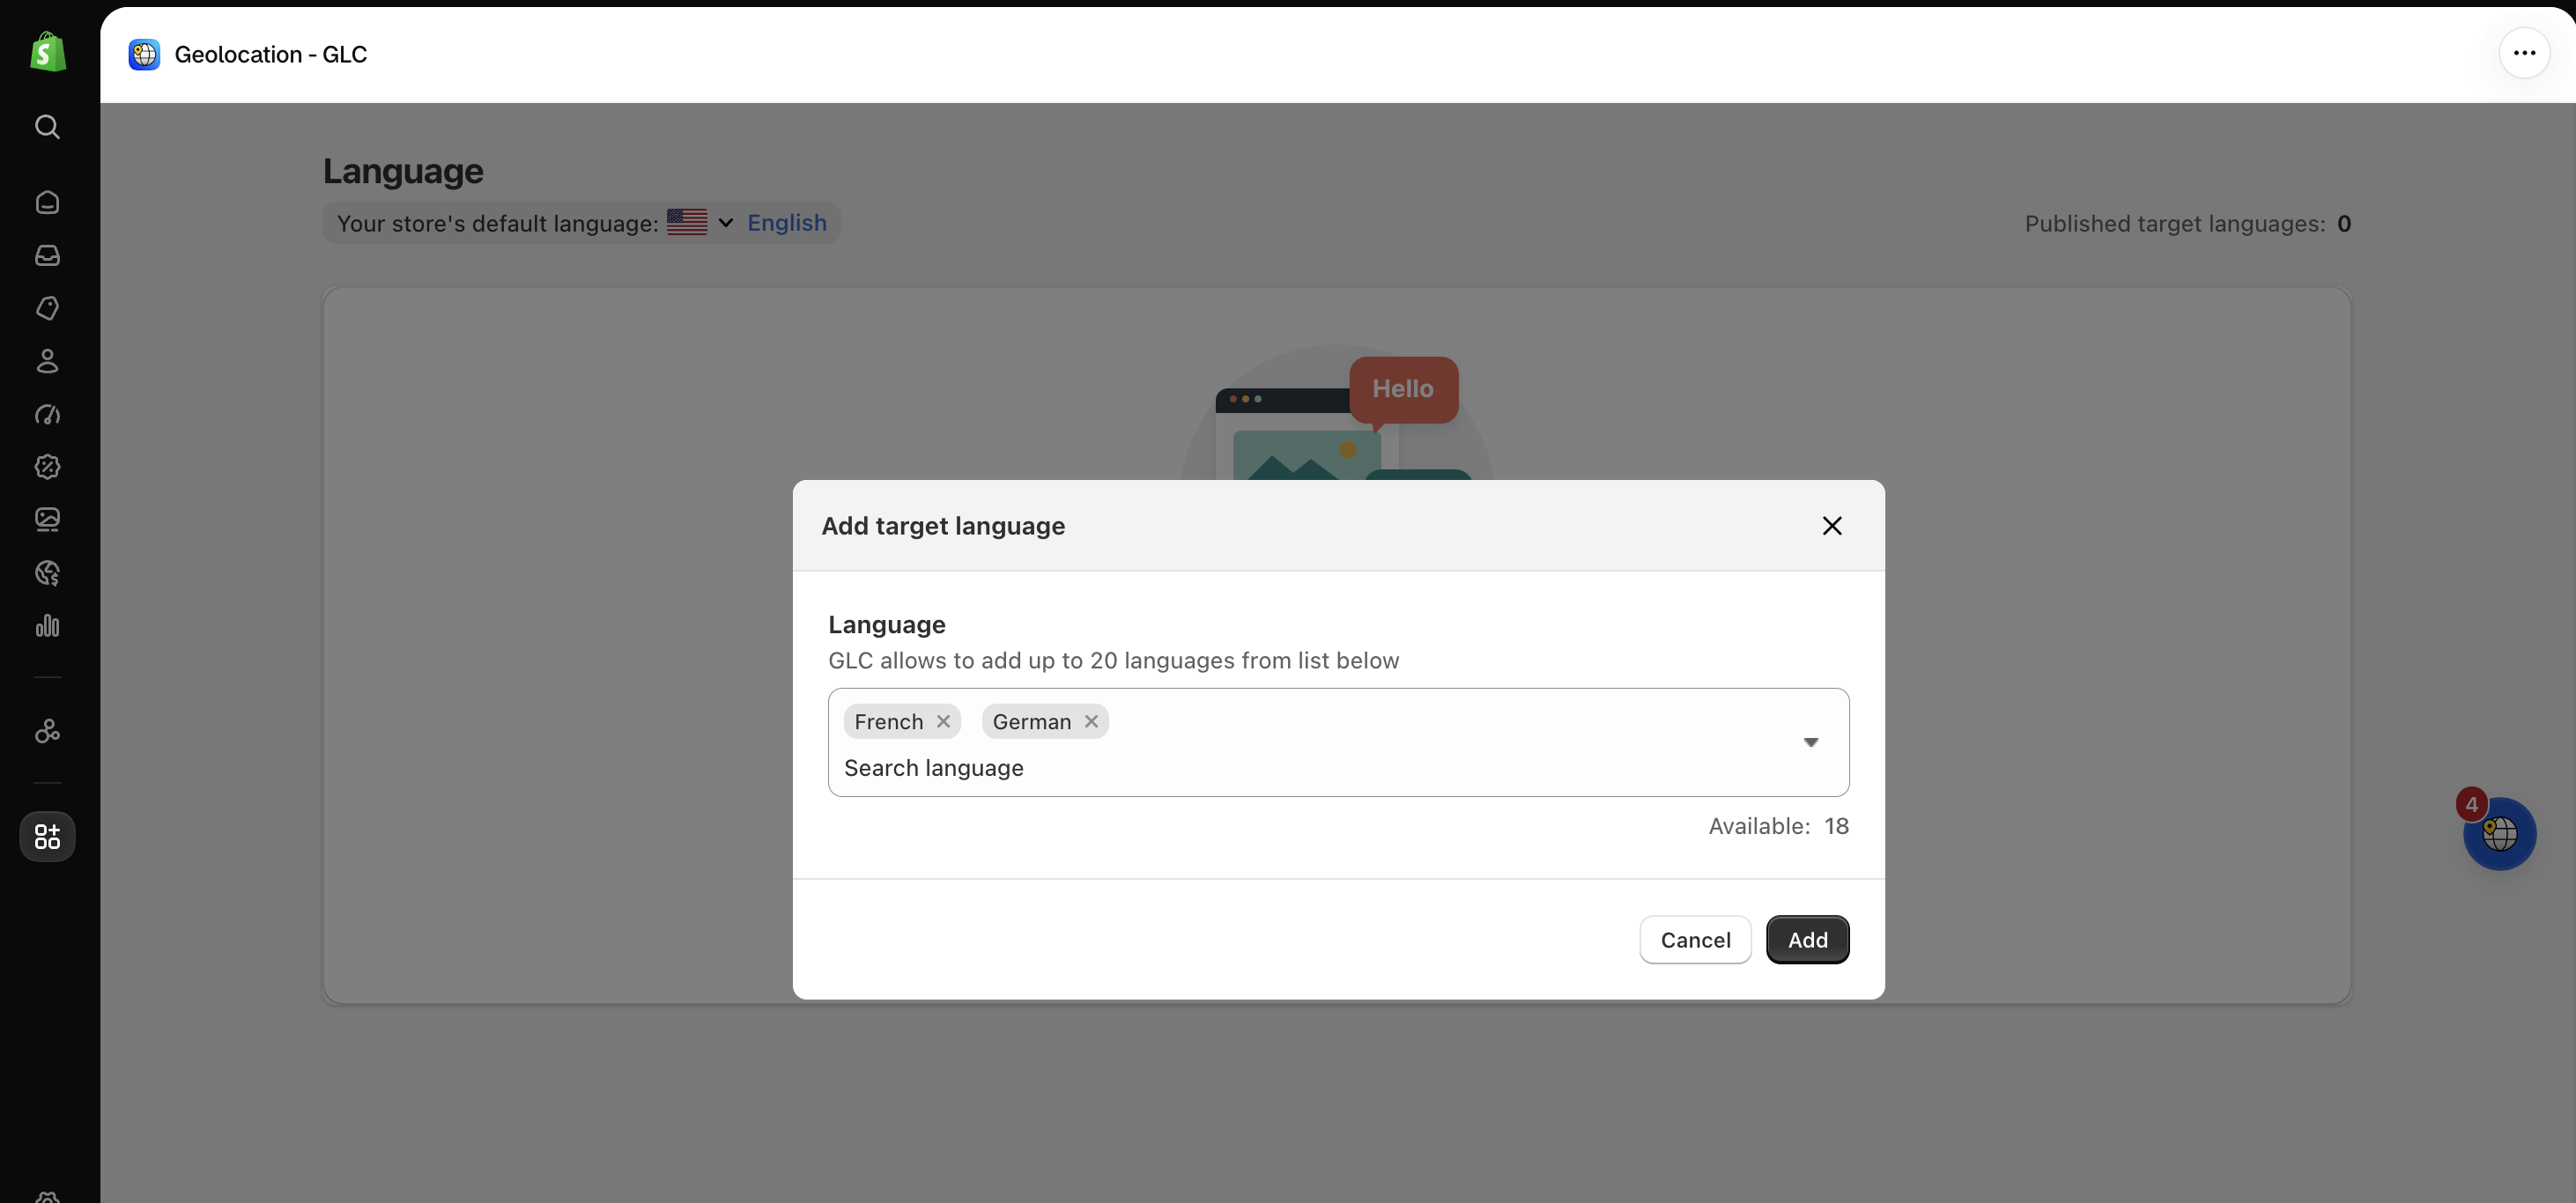
Browse the list of available options, select the languages you want to add, and click Add to include them in your store's configuration. The Available number shows how many more languages you can add.
Step 3: Translate the language
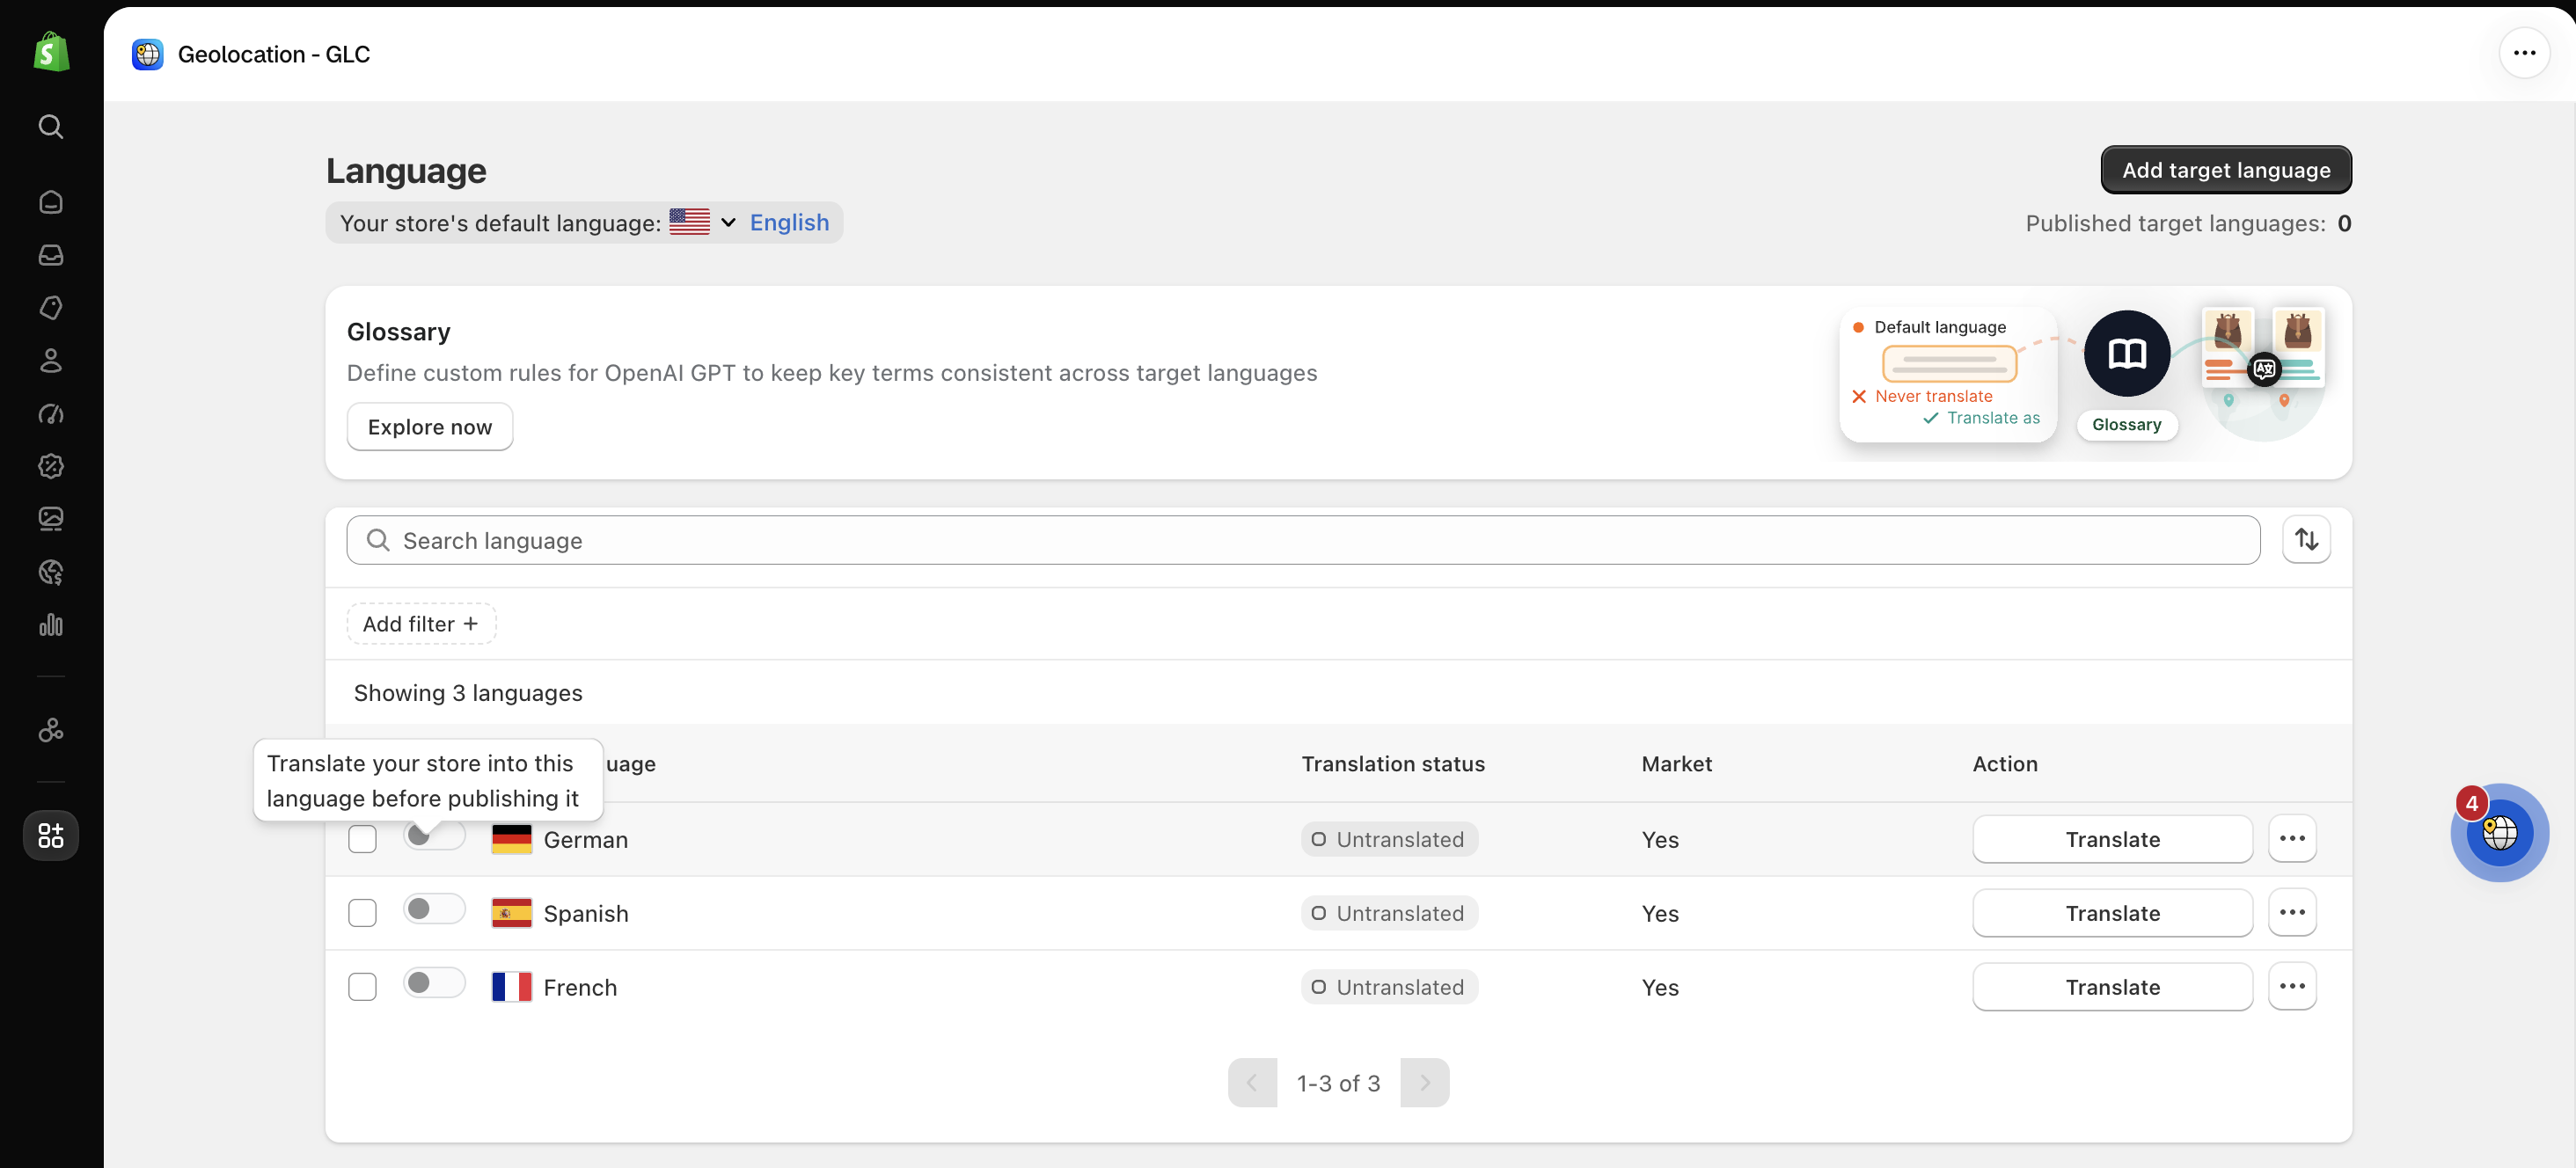
A newly added language shows the Untranslated status. Click Translate, and GLC will translate your store content into that language. While the translation is in progress, the status shows Translating, and you can click Stop at any time. Once it's complete, the status changes to Translated.
Step 4: Enable the language for your storefront
Turn on the Status toggle to make the language visible and accessible to customers browsing your store. The number of published target languages is shown at the top right of the Language page.
Your plan determines how many target languages you can publish. When you reach the limit, unpublish a language before publishing another one, or upgrade from Pricing in GLC. See I can't add or publish more languages or currencies.
If a published language doesn't appear on your selector, make sure it has also been added to your market in Shopify. See Why I did not see language on my Selector?.
III. Customizing and Managing Your Languages
You can further refine your language settings from the ⋯ menu next to each target language:
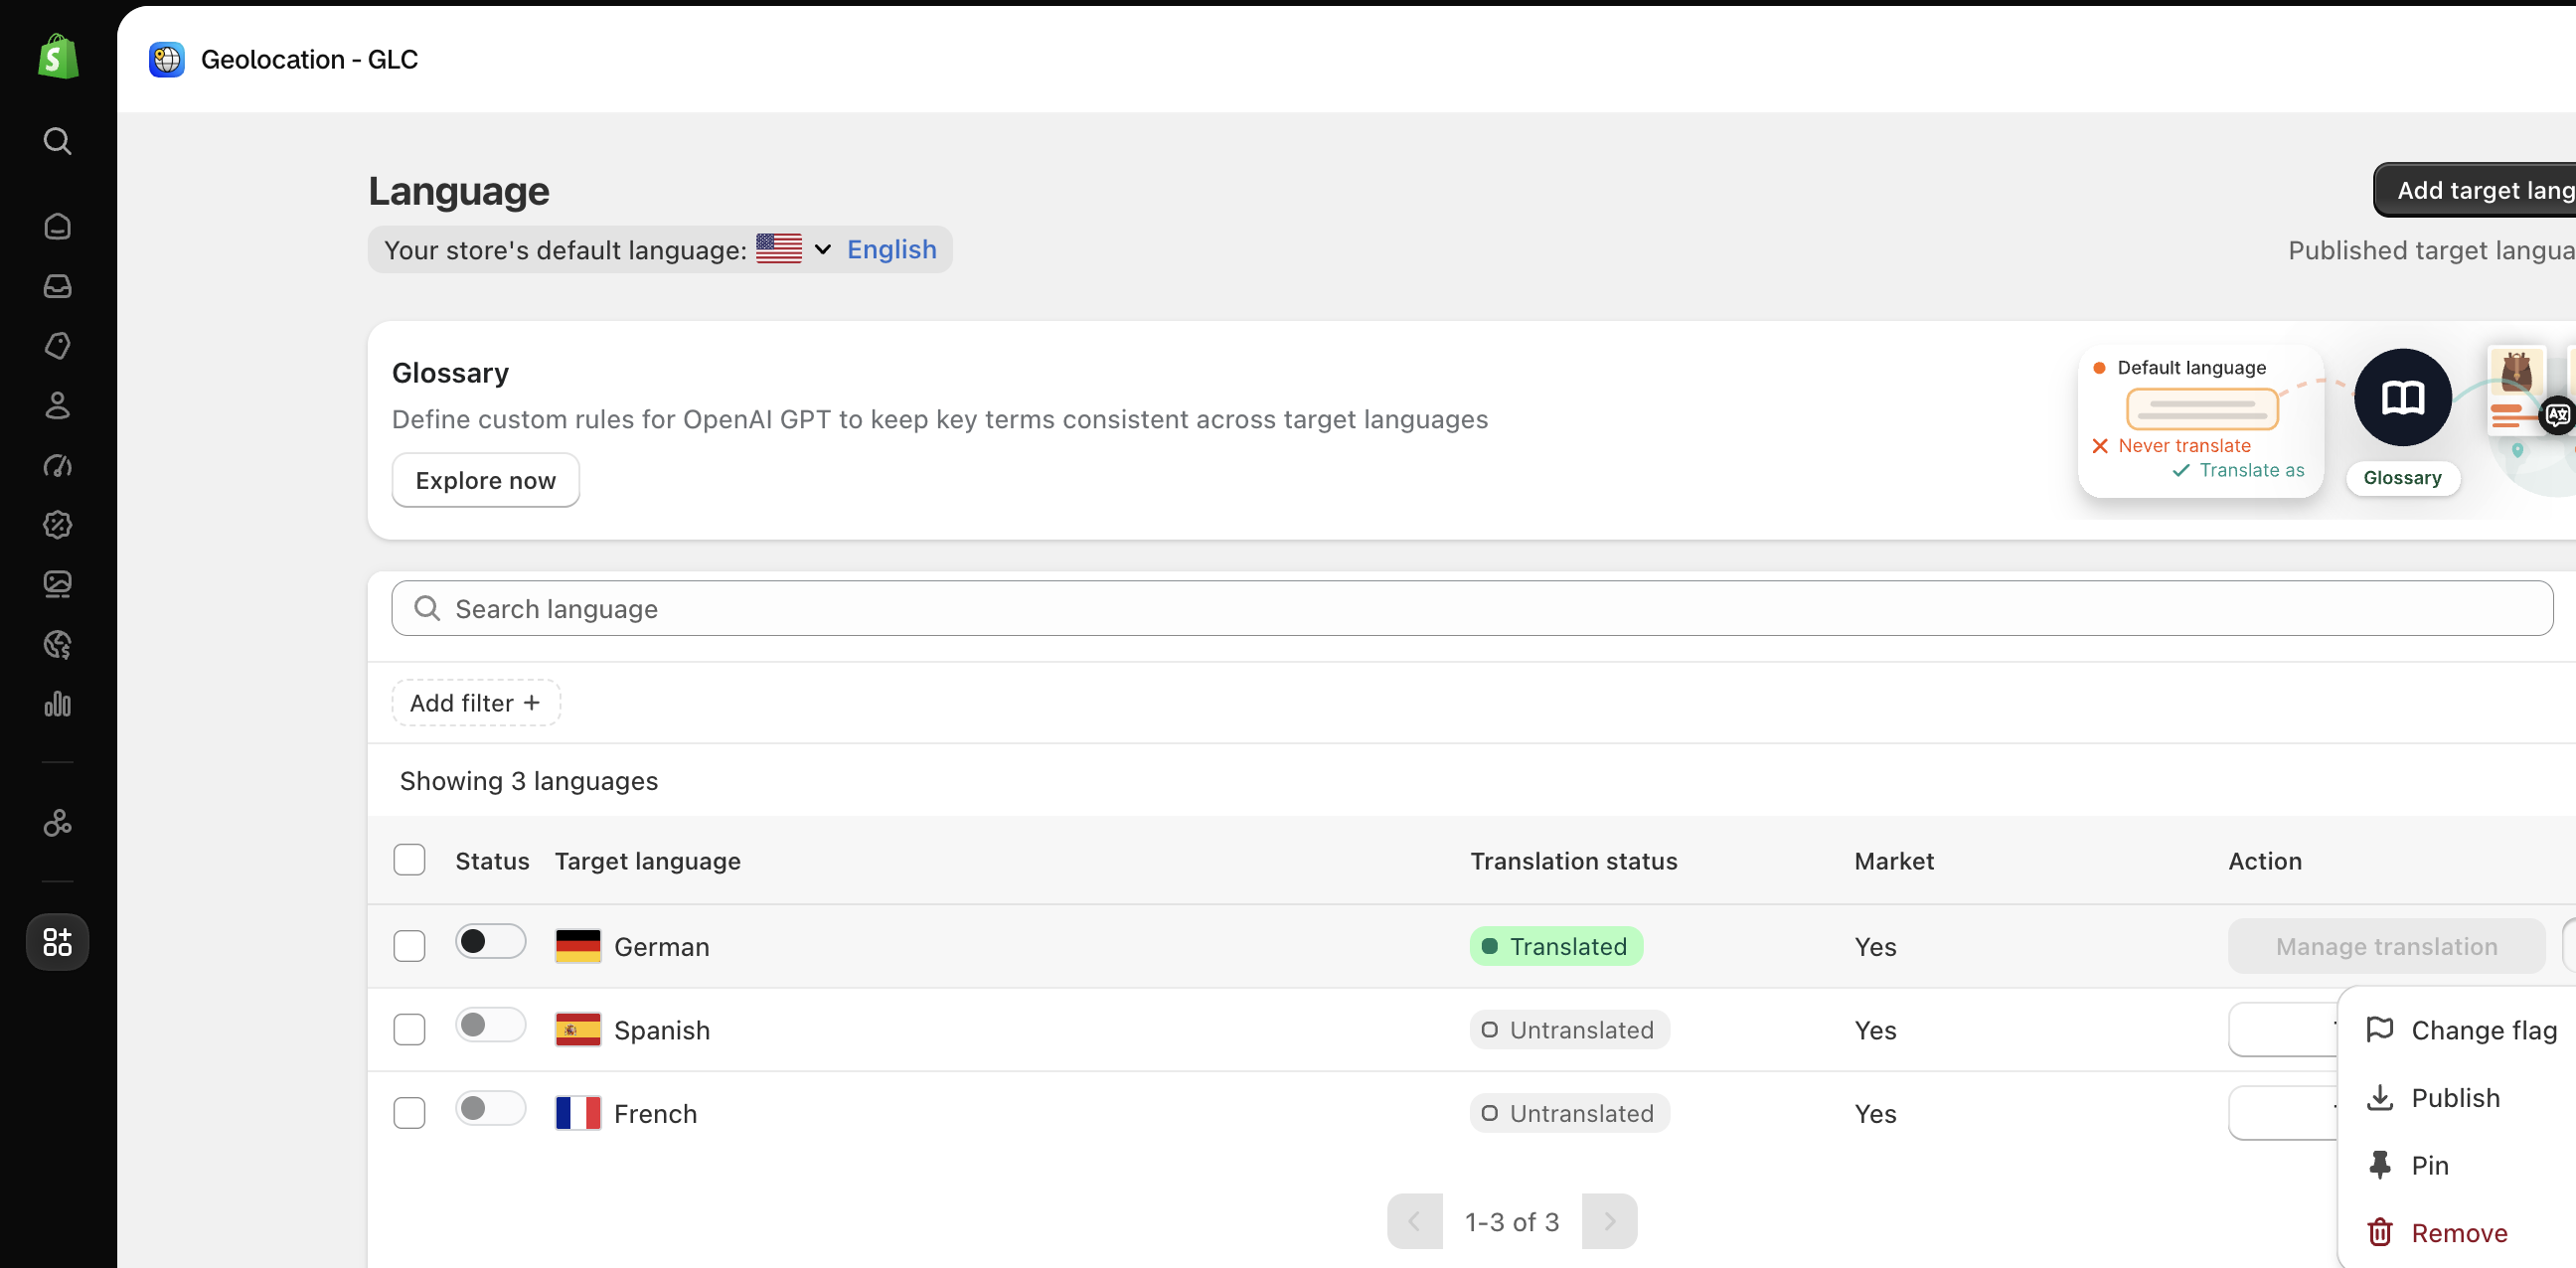
- Change the language flag: Select a flag that best represents the country or region you wish to highlight. This helps give your store a more region-appropriate look and feel. To change the flag of your default language, click the flag next to Your store's default language at the top of the page.
- Pin languages for better visibility: Pin a language to the top of your list and selector, ensuring it's prominent and easy to access. The first pinned language always appears at the top, followed by the others in the order they were pinned.
- Unpublish languages temporarily: Hide a language from the selector without removing it. All translations are kept intact for future use, and you can republish it whenever needed.
- Remove languages when needed: If you decide a language is no longer necessary, you can permanently remove it from your store with just a few clicks.
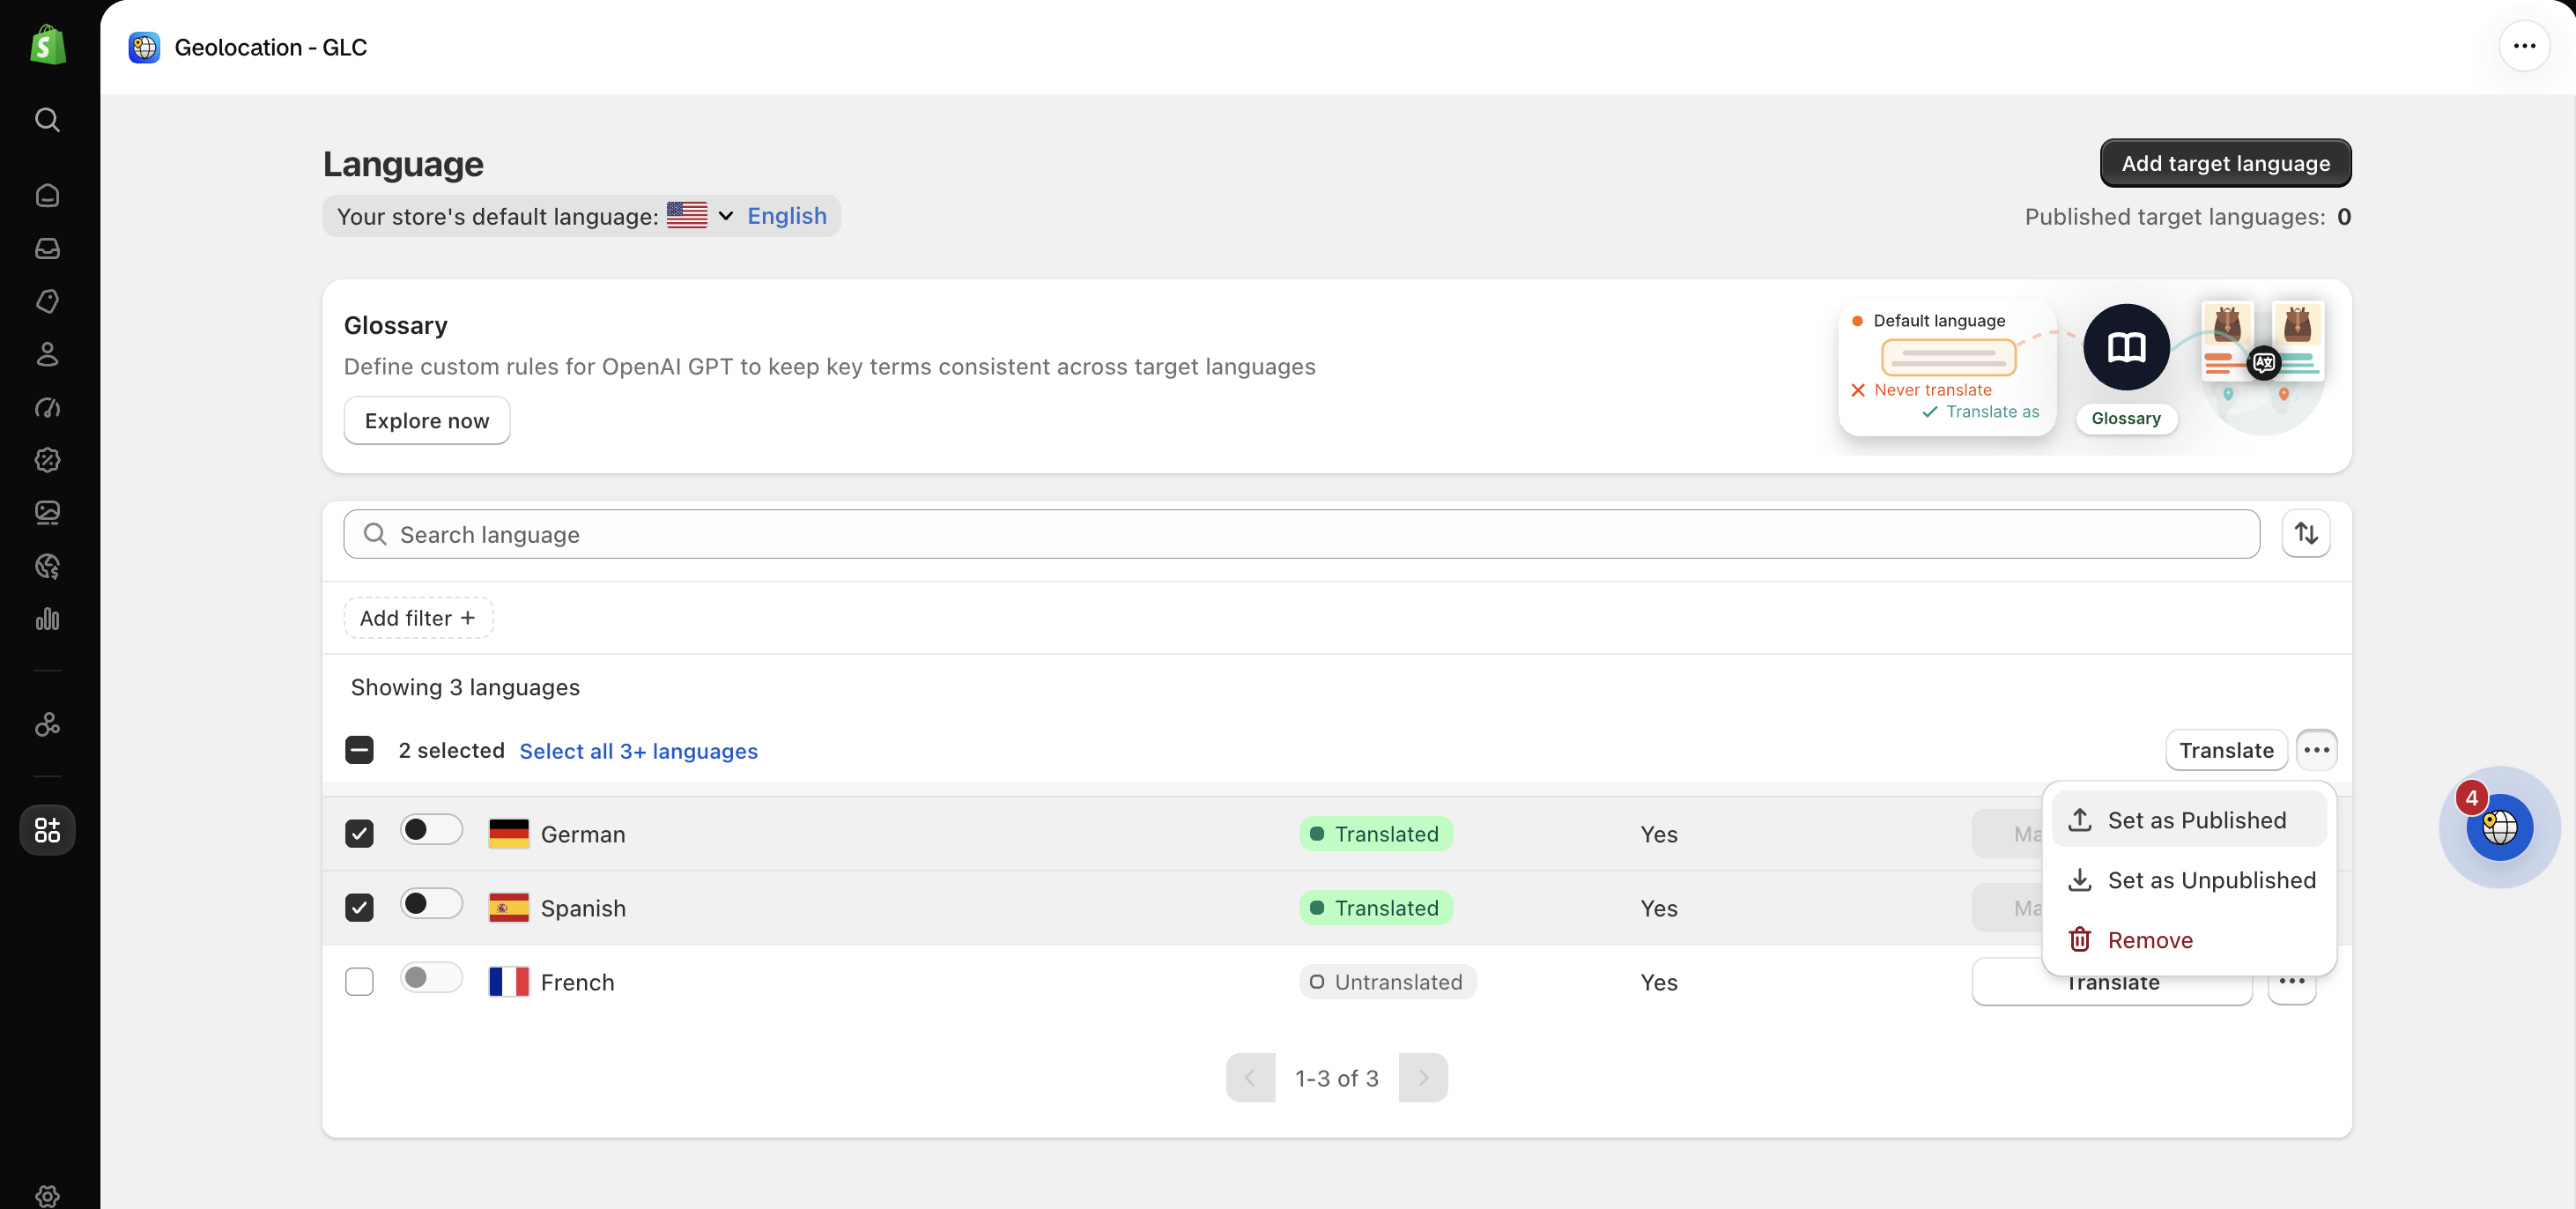
Manage languages in bulk
If you've added multiple target languages, select them and choose Set as Published, Set as Unpublished, or Remove to update them all at once.
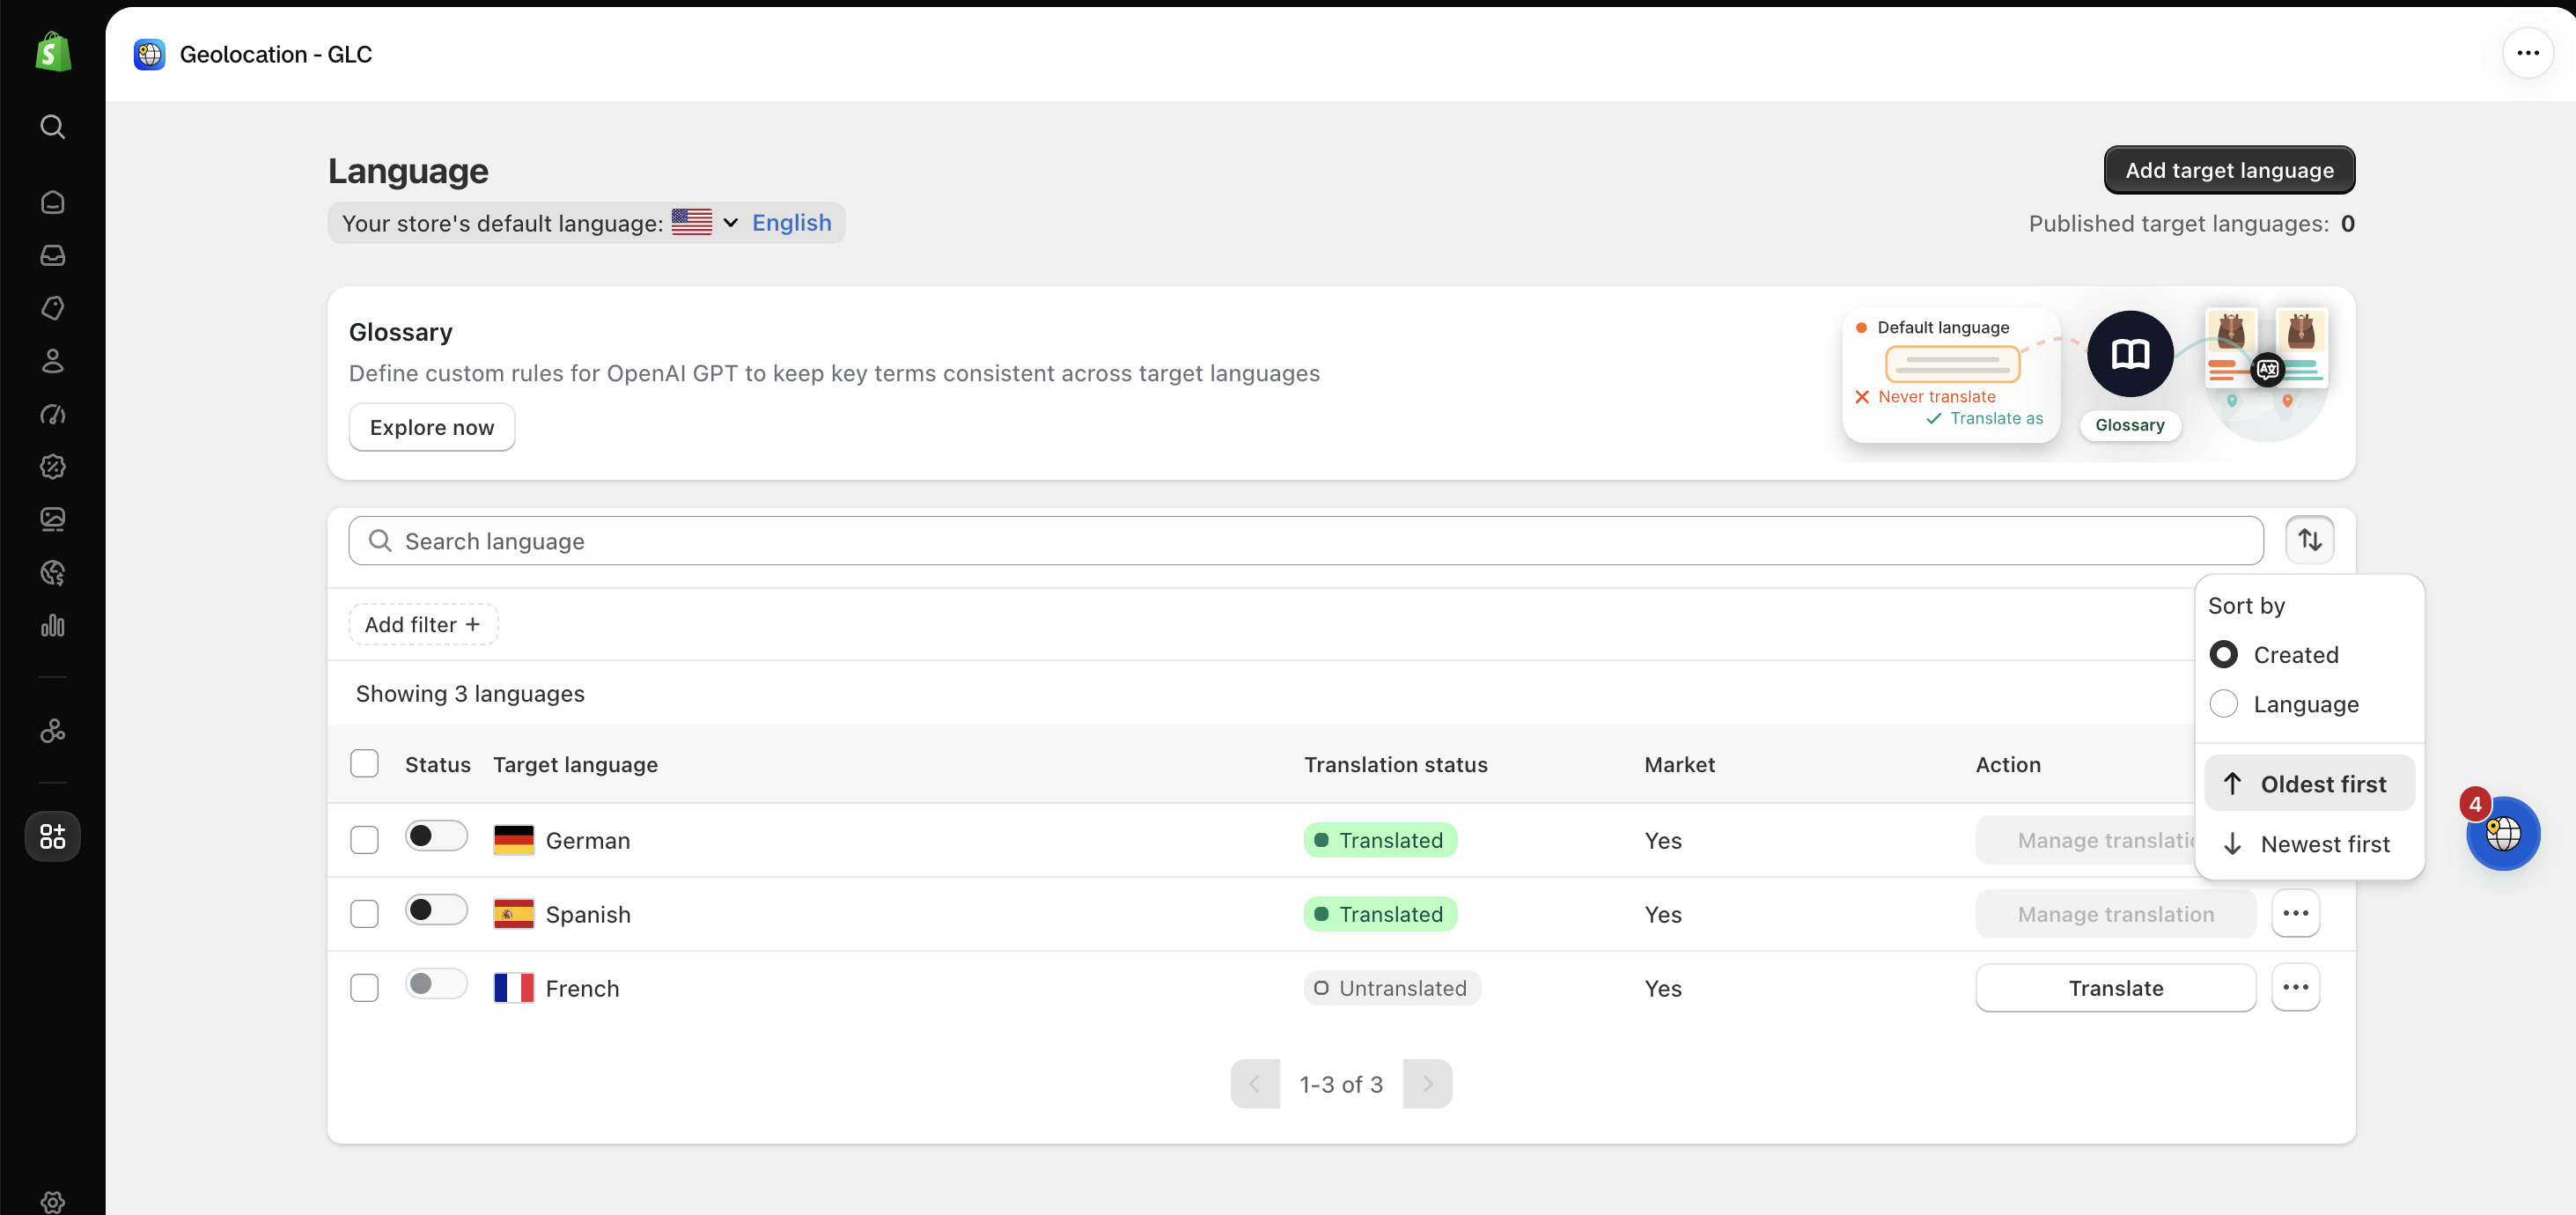
Change the order of languages
Click the Sort icon at the top right of the language list to reorder your languages, for example by created date (Oldest first or Newest first). Once sorted, the selector on your storefront displays your languages in the updated sequence.
These options help you maintain a clean, user-friendly, and regionally relevant storefront as you expand globally.
Once your languages are published, you can fine-tune what customers see. See Edit translations.
If you can't find the language you want to add, or a published language doesn't show on your storefront, email us at [email protected]. We'll help you get your languages set up.